GMS-P
Profiler outside contour
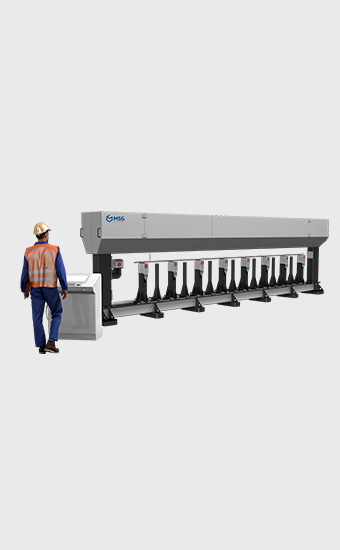
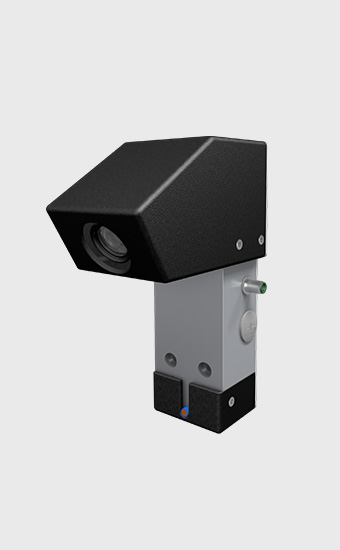
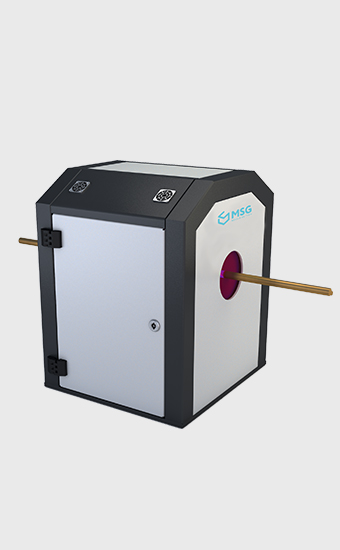
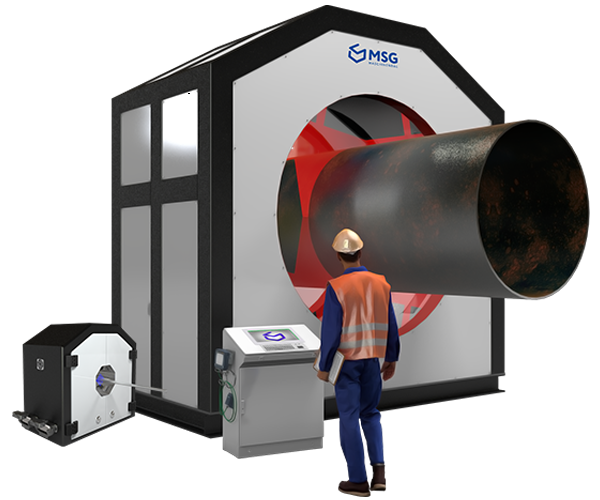
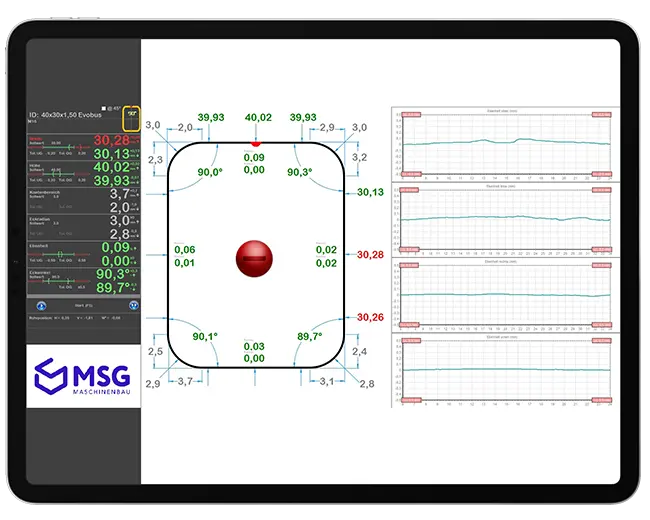
The GMS-P generates a digital image (Digital Twin) of the outer contour of profiles and pipes.
Measurably precise
This is where outer values count
In addition to recording pipes with constant bending radii, free-form bent pipes can also be precisely measured and documented. The measuring system is ideally suited for use in quality assurance and for correcting bending data.
Digital benefits of measured data
The final digitization and dimensional control before delivery is an essential benefit of the GMS-P. In addition, it is also possible to monitor or, if required, regulate adjustment processes and/or calibration processes in earlier production steps.
Implementation for industrial applications
The design of the GMS-P is impressive, among other things, due to the use of materials with low temperature expansion. Only in this way can highly accurate and time-stable measurement results be generated in combination with intelligent compensation algorithms, especially for pipes with diameters greater than 1600 mm.
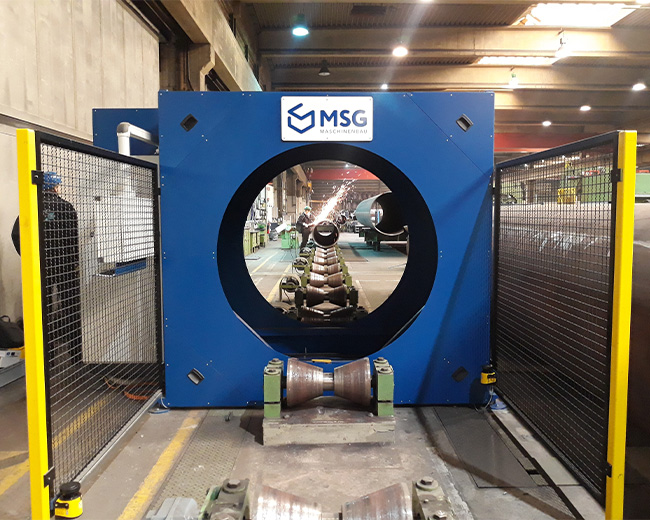
The unique inline calibration system allows the cameras to be calibrated fully automatically during runtime. This way, any corrections can be performed simply by accessing or deleting.
Mechanical adaptability
Inline calibration makes it possible: You do not adapt your production to our GMS-P, but the construction method is specially adapted to your circumstances. This saves effort, but above all costs.
Use case
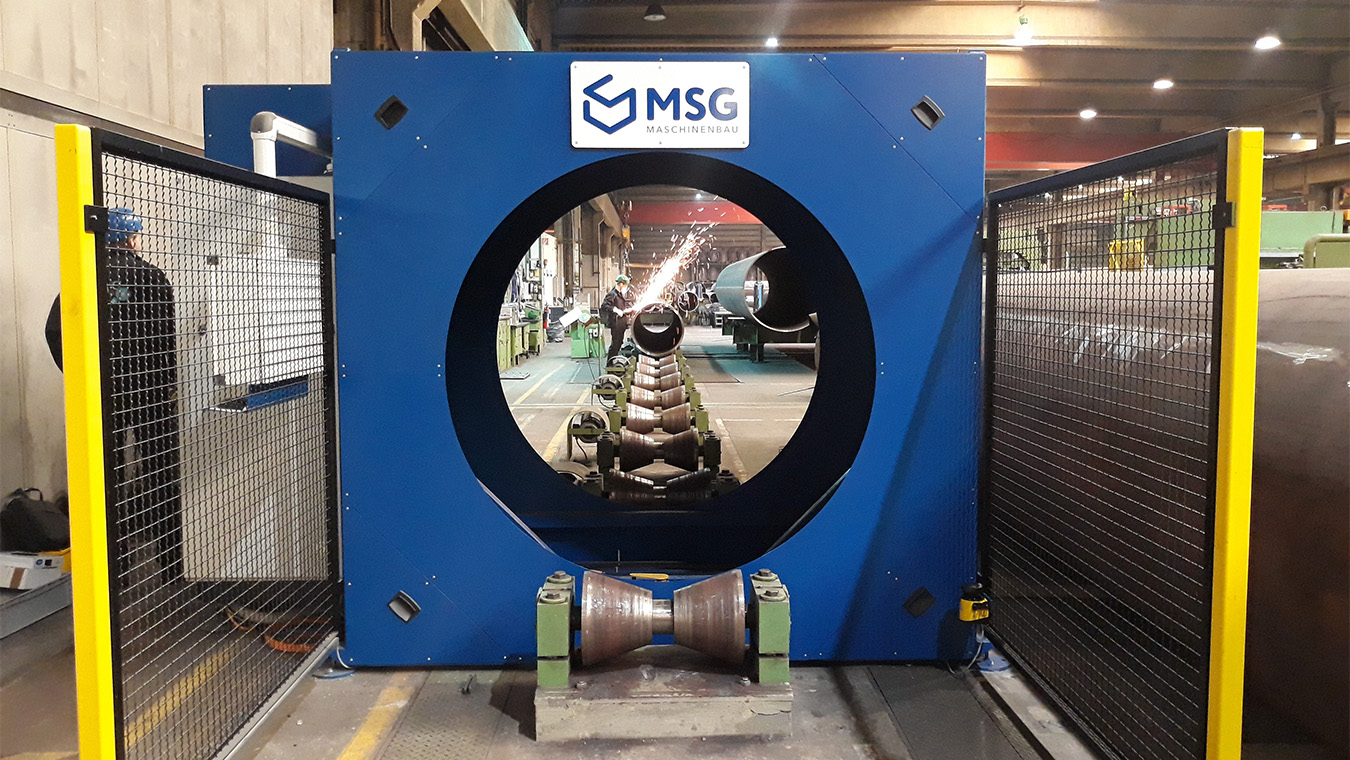
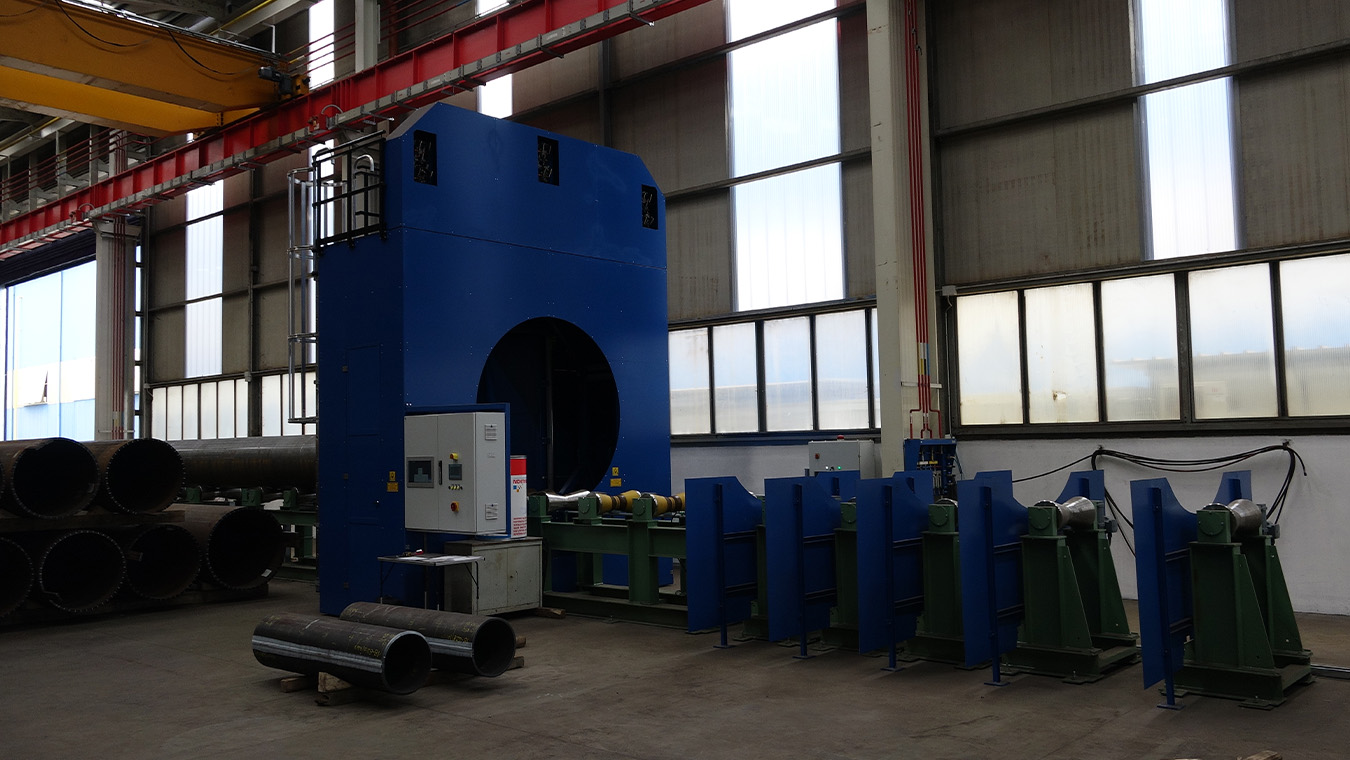
The combination of our GMS-P with our straightness measurement was realised for a customer in Northern Italy. This configuration allows the straightness and profile accuracy to be analysed on LSAW pipes up to 2 metres in size.
Nominal data/ Recipe data
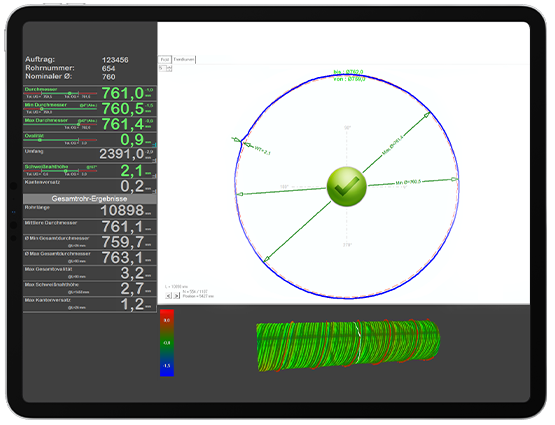
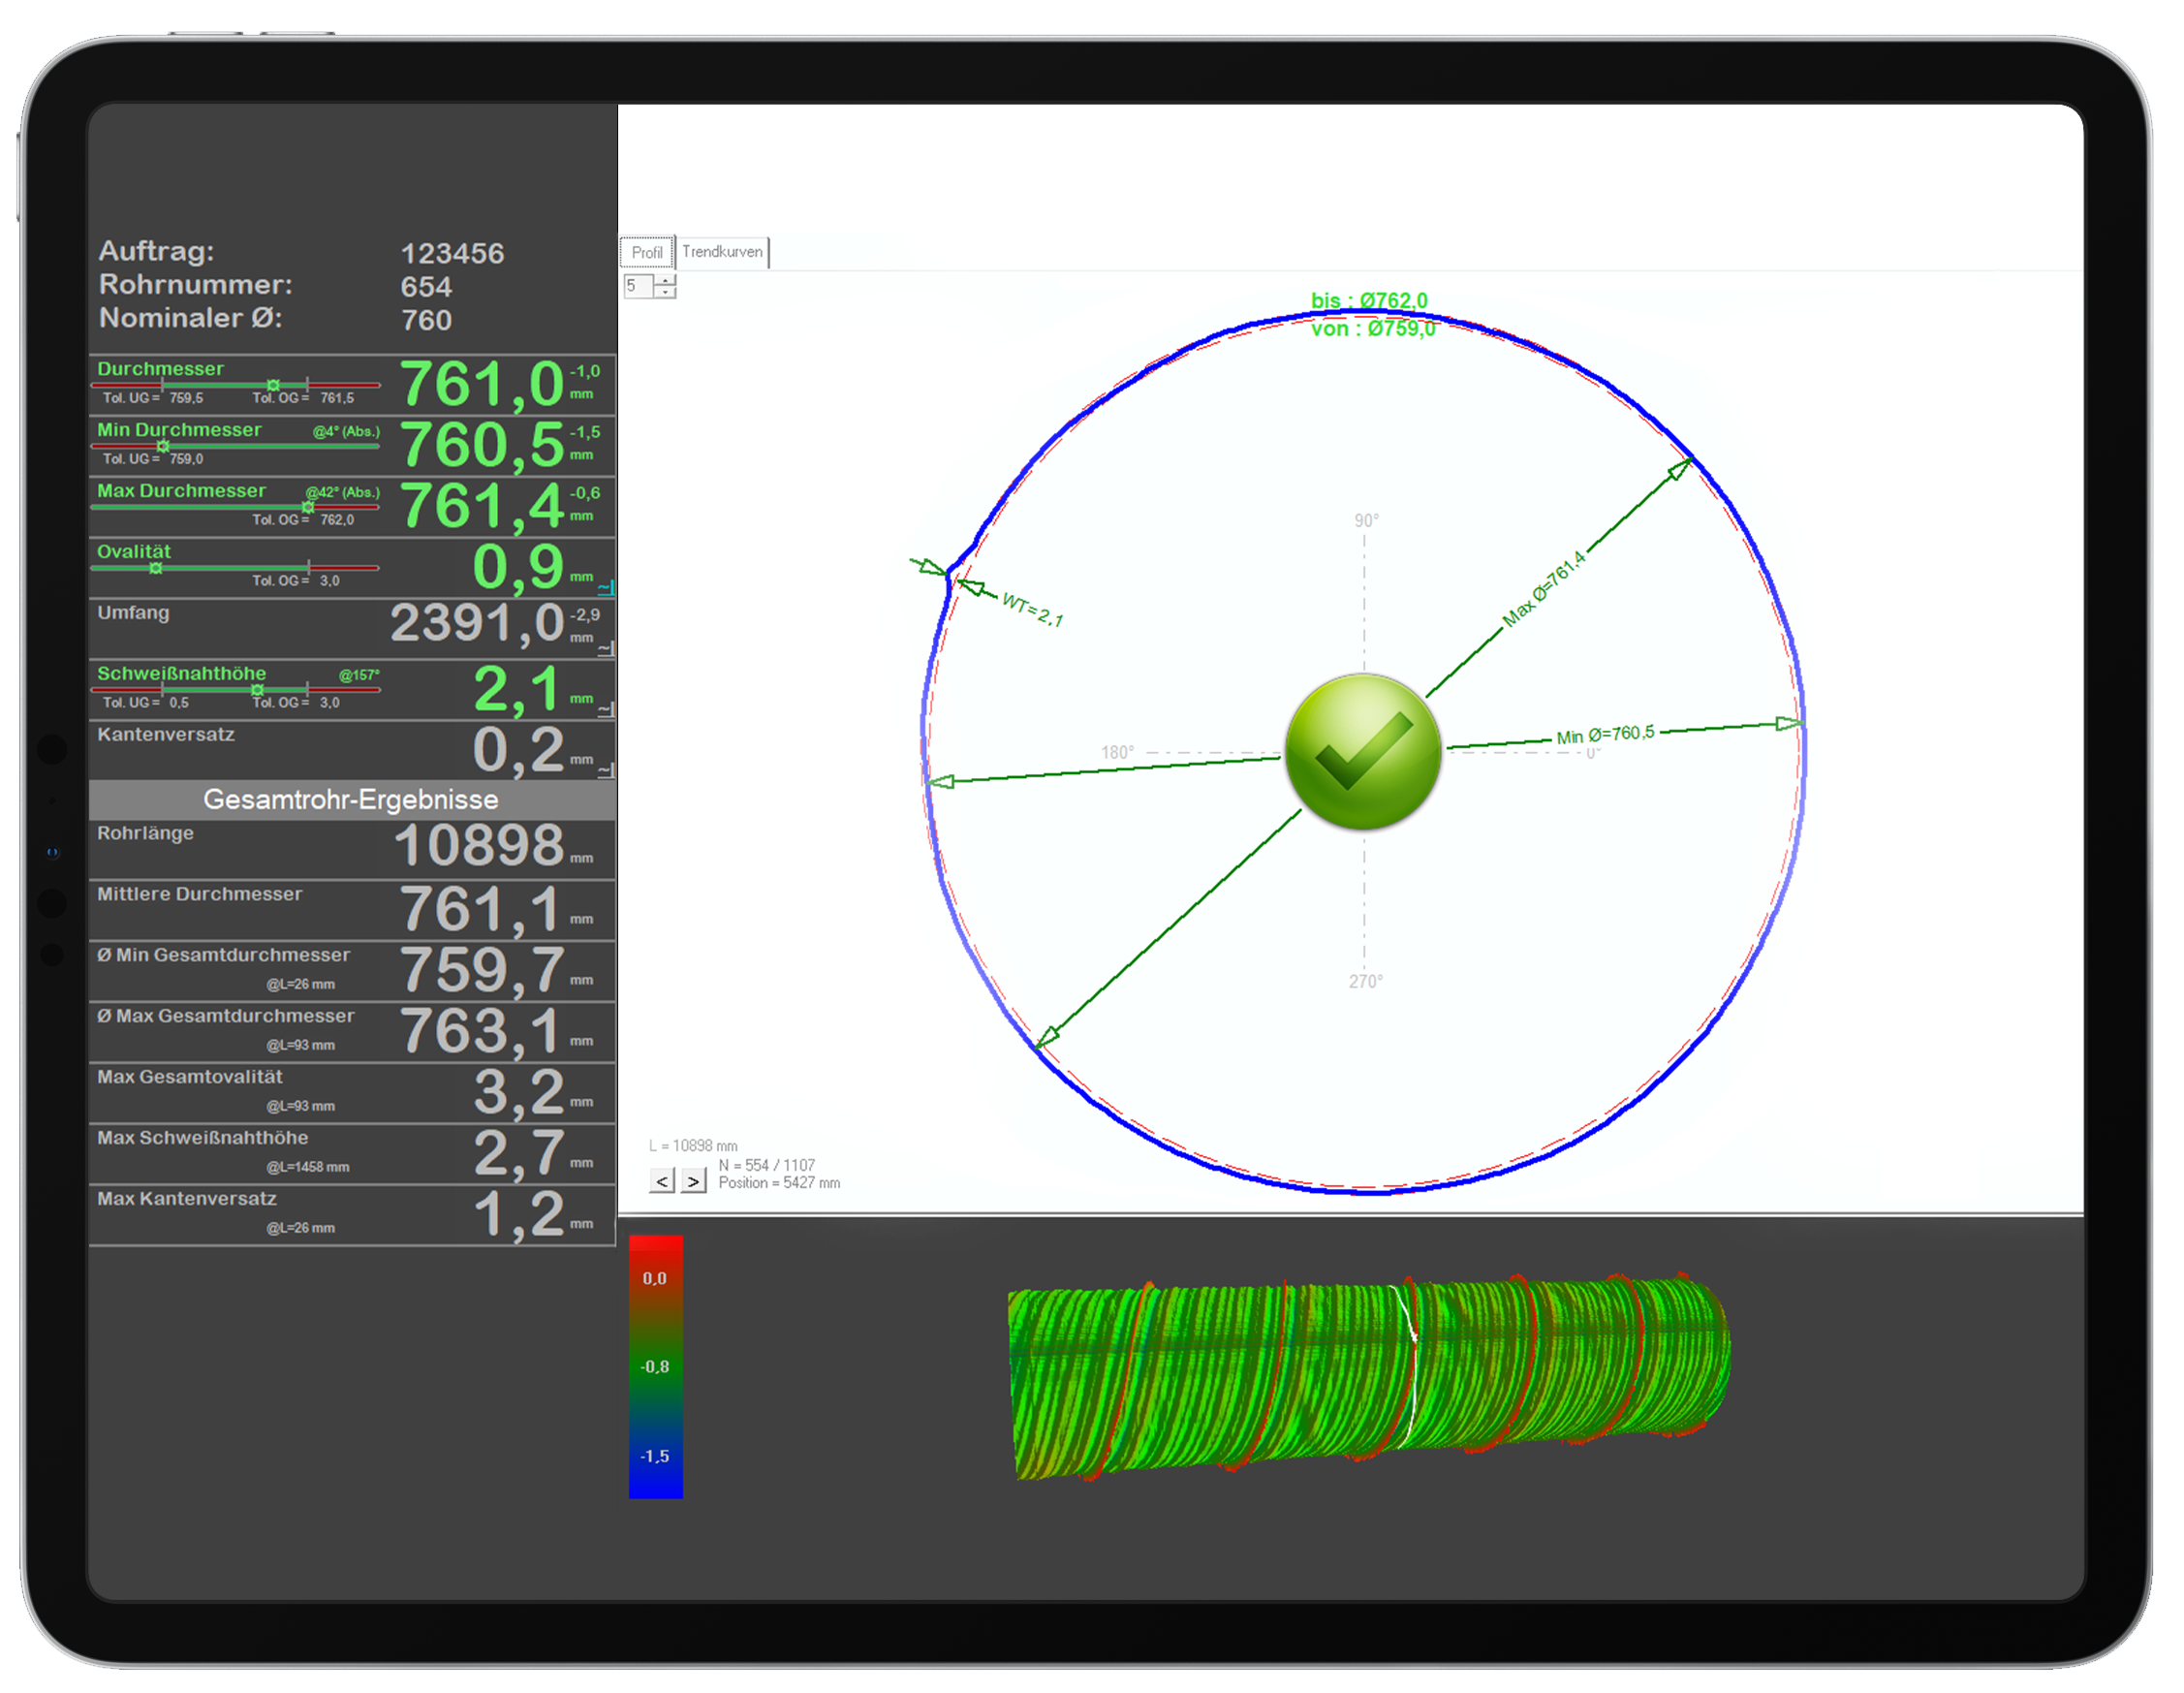
Averaged measurement results
Here, all features are shown as an average value over the entire pipe length.
Edge offset
Corresponds to the sheet edge offset at the location of the weld seam
Weld seam height
Describes the distance between the nominal radius and the weld apex.
Circumference
Is equivalent to a real tape measure
Ovality
Difference between minimum and maximum diameter
Maximum outer diameter
Is equivalent to a real caliper measurement
Minimum outer diameter
Is equivalent to a real caliper measurement
Average outer diameter
Best fit outer diameter
Tab selection
It is possible to switch between the 2D-display and a trend curve display.
2D profile display
Display of the cutting profile selected in the 3D view by mouse click
3D display
Representation of the scanned tube surface. The deviations from the nominal diameter are displayed in color.
With the visualisation of your digital data, you always stay on top of things and can use the information for further processing.
Technical data
Application range
- Digitization
- Product certification
- System control
- Production optimisation on bending machines
- Production optimisation on welding lines
- Production optimisation on roll forming machines
- Production optimisation on Konti lines
- Machine Learning
Product areas
- Automotive round pipe
- Linepipe (LSAW, HSAW, Seamless)
- Construction pipe
- Profiled rod products
Materials
- Steel
- Brass
- Aluminium
- Titanium
- a.o.
Integration possibilities
- Longitudinal transport
Inspection criterions
- Outer diameter/radius
- Inner diameter/radius
- Circumference
- Ovality
- Local eccentricity
- Weld seam height
- Weld seam width
- Seam edge offset
- Peaking vs. Flattening
Measuring speed
- Up to 1000Hz
Measuring accuracy
- Up to 50µm
Interface
- Process: PLC
- Data: SQL
Downloads
Data Sheet (EN)
Data Sheet (DE)
01/05
Similar machines
Take advantage of our know-how and experience to get one step ahead of the competition. Find more solutions here.

