GMS-I
Profiler inside contour
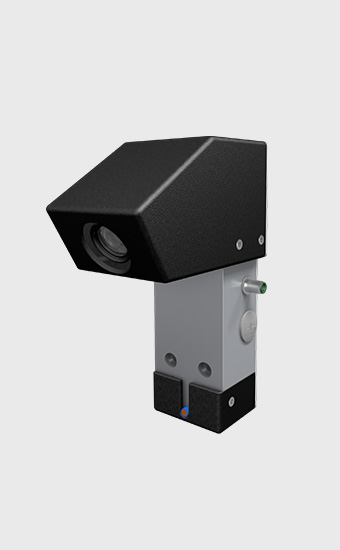
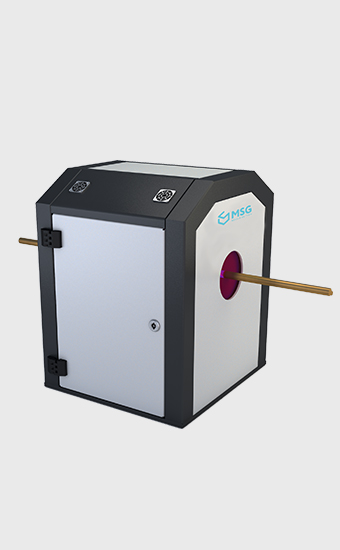
The GMS-I provides information concerning the internal contour of pipes. Even on high reflective surfaces.
Measurably precise
The only true value – the inner values
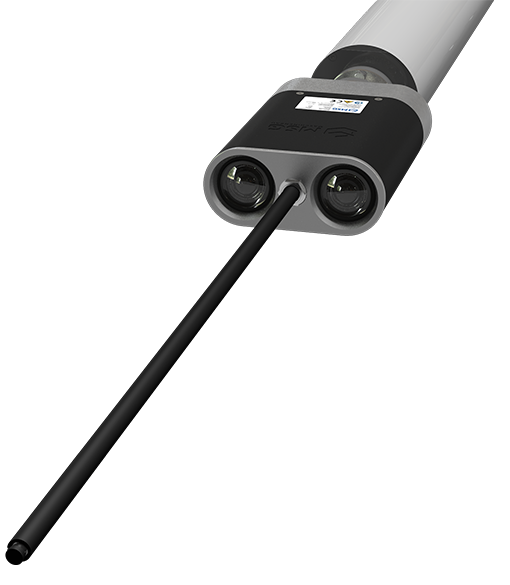
In addition to recording pipes with constant bending radii, free-form bent pipes can also be precisely measured and documented. The measuring system is ideally suited for use in quality assurance and for correcting bending data.
Digital benefits of measured data
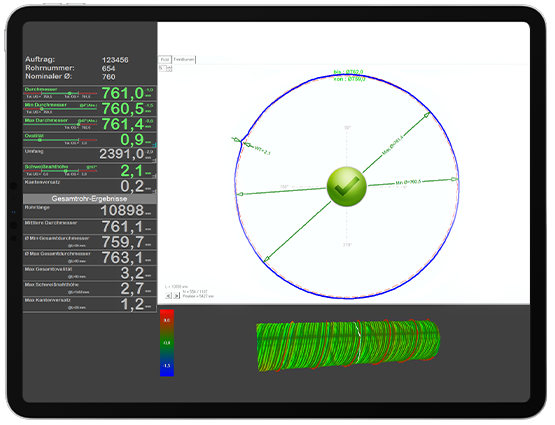
Whether for live monitoring of the inner contour in bending processes, for dimensional control in the adjustment area of your production, or for simple digitization of the production quality before delivery – the benefits of the GMS-I in the context of pipe production are manifold and promise highly accurate and reliable production results.
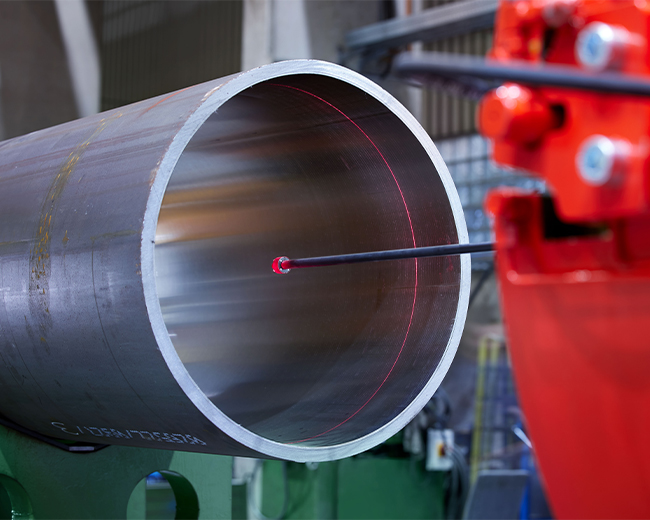
Implementation for industrial applications
The construction of the GMS-I is designed for minimum temperature expansion, and for dealing with adverse industrial conditions. This eliminates the need to recalibrate the measuring head during runtime.
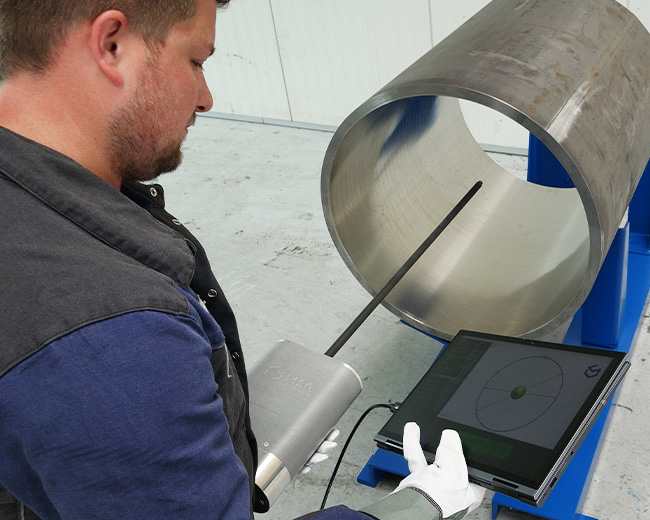
Mechanical adaptability
The measuring range of the GMS-I is adapted to your product portfolio for each project. This means that MSG can always realise the maximum resolution for your measuring task.
Use case
The GMS-I is currently used in various calibration presses. In one variant, the GMS-I is used with a lance gantry for live measurement in an outside bending press. In another project, the GMS-I is required for control purposes in an expanding process at pipe ends.
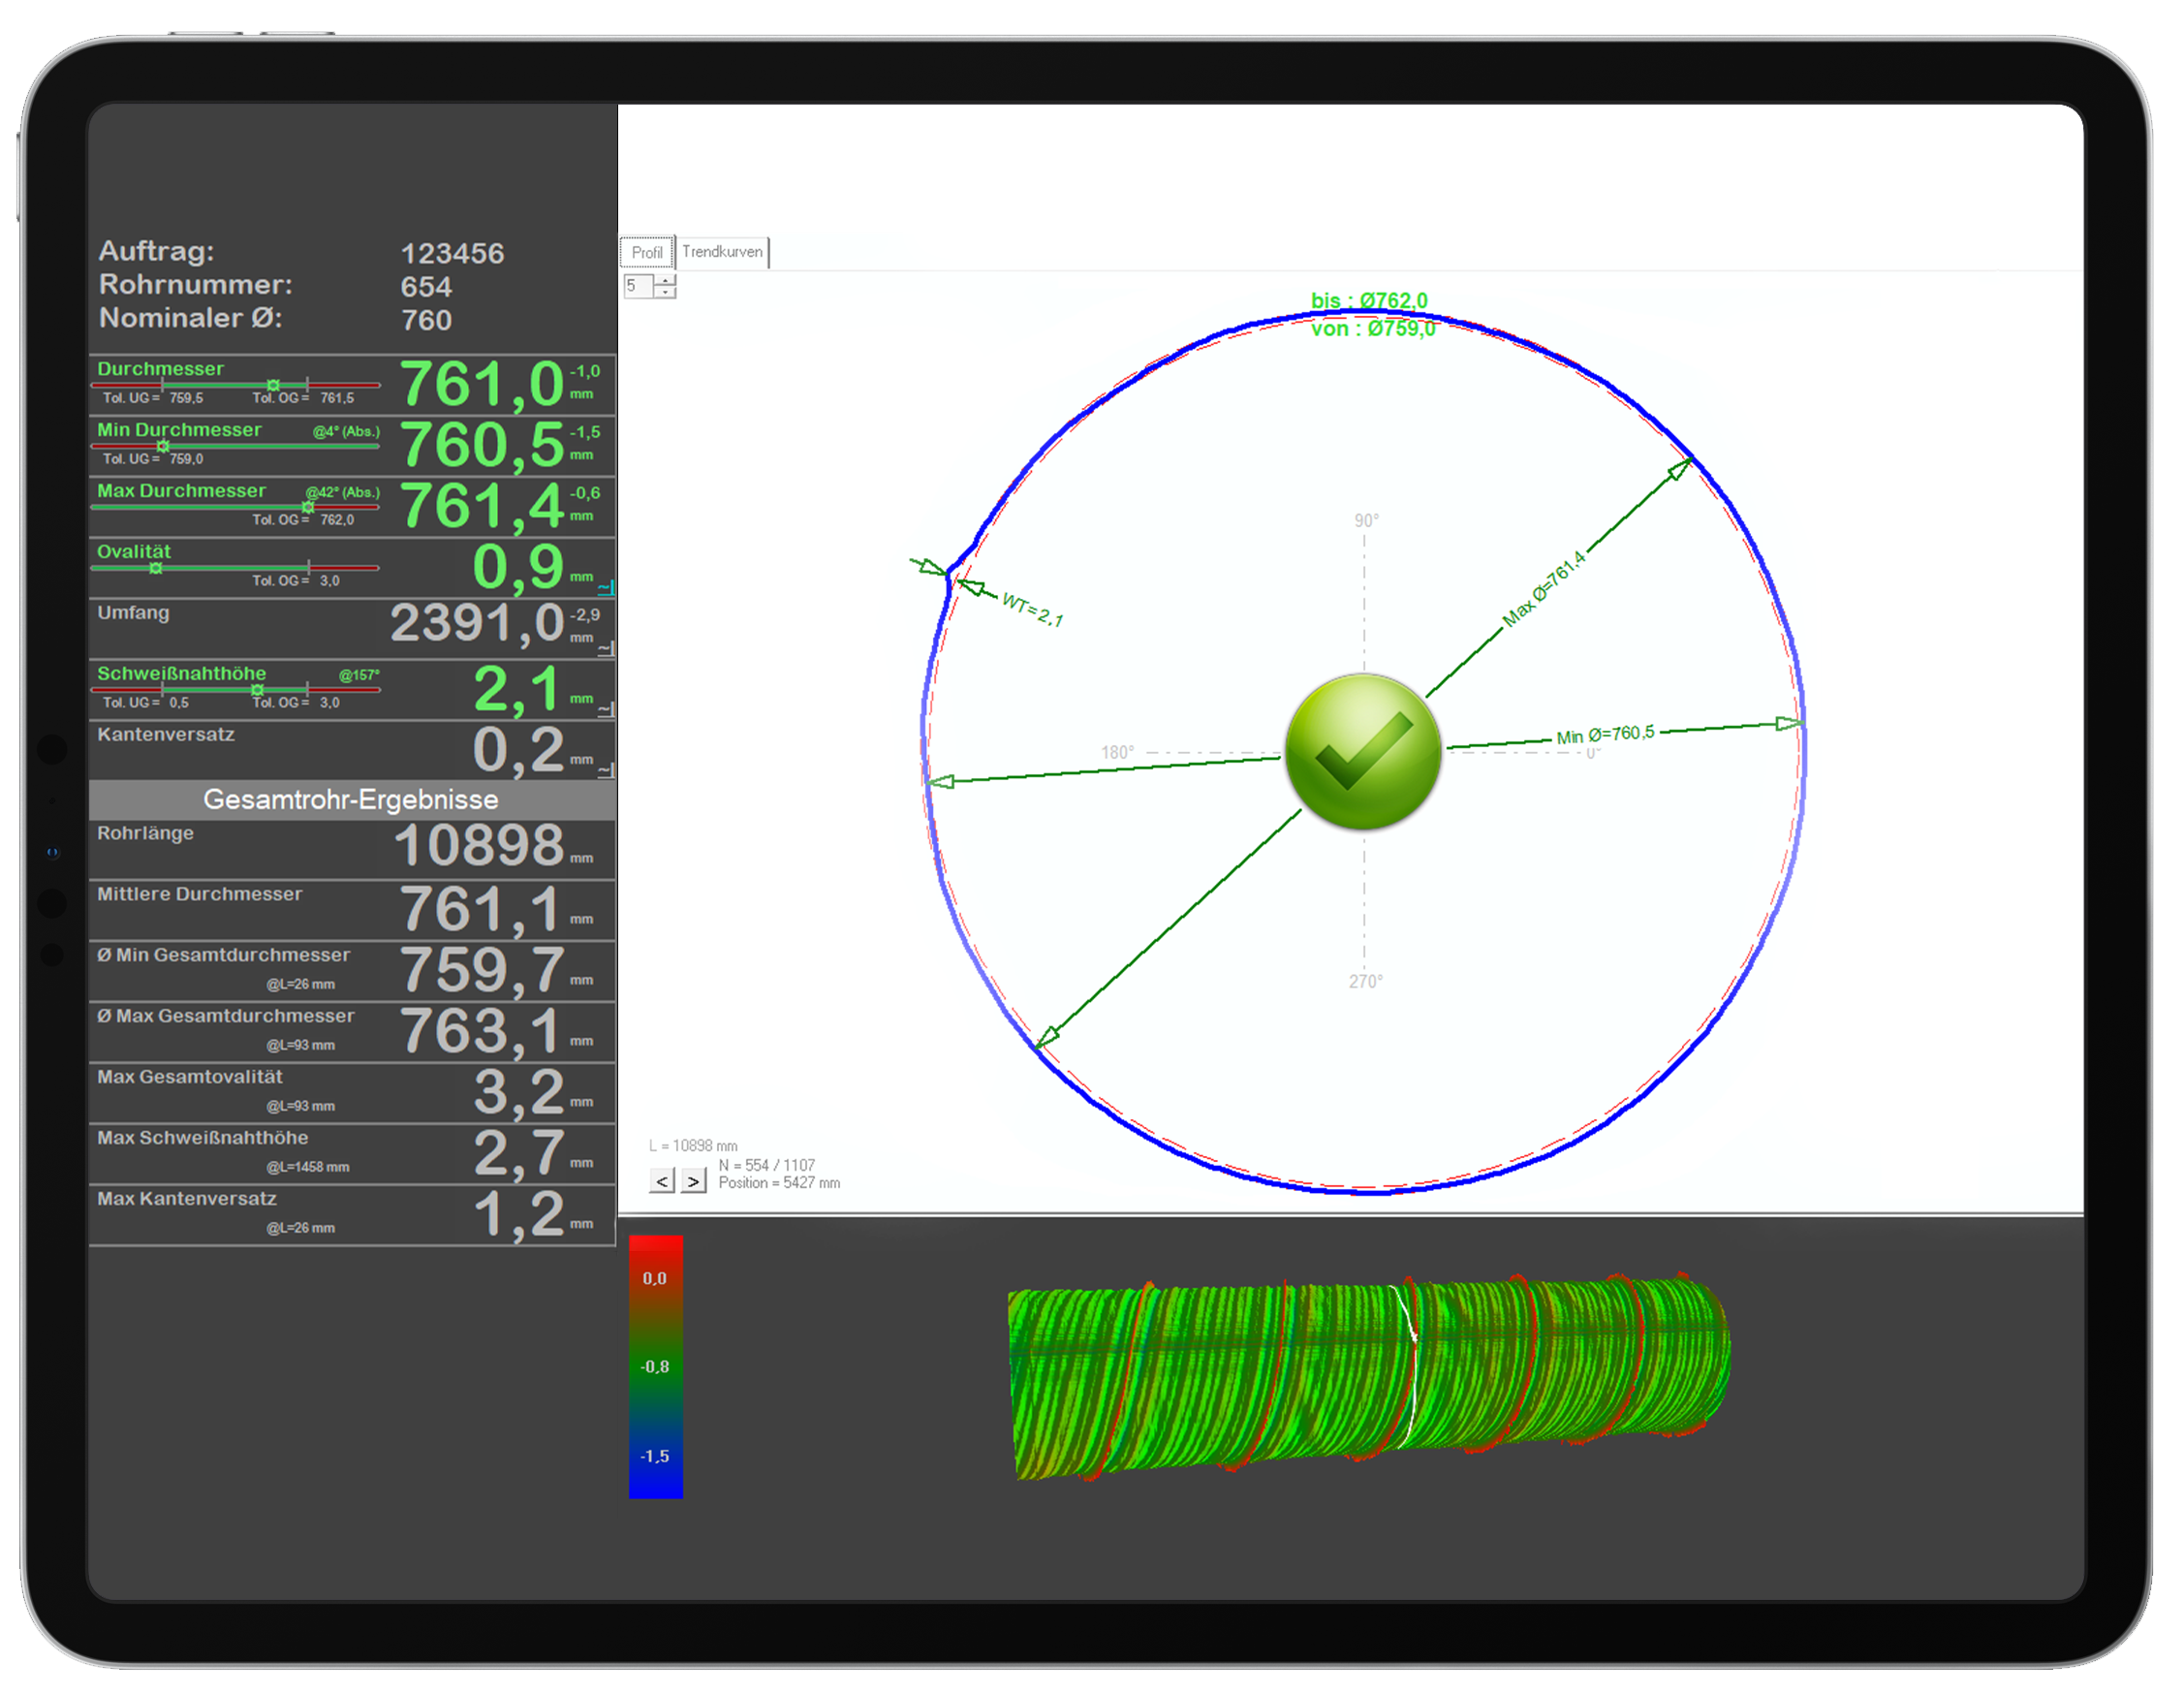
Nominal data/ Recipe data
With the visualisation of your digital data, you always stay on top of things and can use the information for further processing.
Technical data
Application range
- Digitization
- Product certification
- System control
- Production optimisation in bending machines
- Production optimisation in edge rolling machines
- Manual field measurement with a handheld device
- Machine Learning
Product areas
- Linepipe (LSAW, HSAW, Seamless)
- Construction pipe
Materials
- Steel
- Brass
- Aluminium
- Titanium
- a.o.
Integration possibilities
- Longitudinal transport
- Hand measurement
Inspection criterions
- Inner diameter/radius
- Circumference
- Ovality
- Local eccentricity
- Weld seam height
- Weld seam width
- Seam edge offset
- Peaking vs. Flattening
Measuring speed
- 200Hz
Measuring accuracy
- Bis zu 50µm
Interface
- Process: PLC
- Data: SQL
Downloads
Data Sheet (EN)
Data Sheet (DE)
Similar machines
Take advantage of our know-how and experience to get one step ahead of the competition. Find more solutions here.

